Standard iDAS Installation for Standalone and Cloud (Network) License
-
Close Autodesk Civil 3D.
-
If you have Devotech iDAS version 8 and older on your computer, then uninstall it from the **Control panel – Programs and features:
**
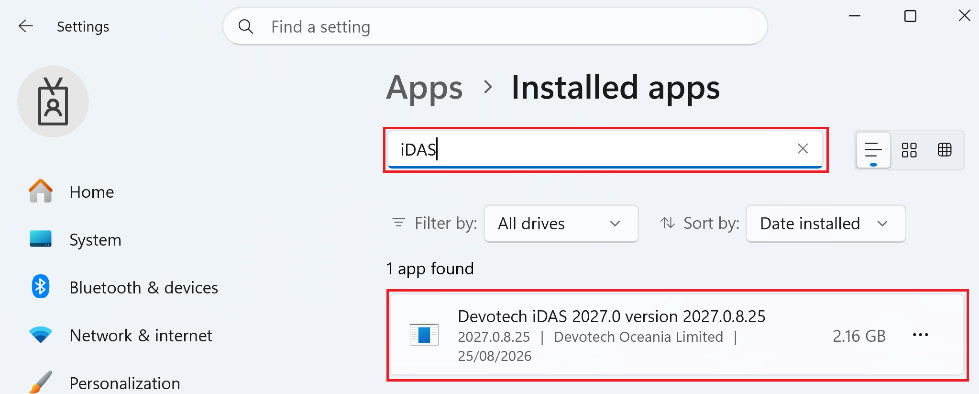
Devotech iDAS version 9 and newer are automatically uninstalled during the installation process.
-
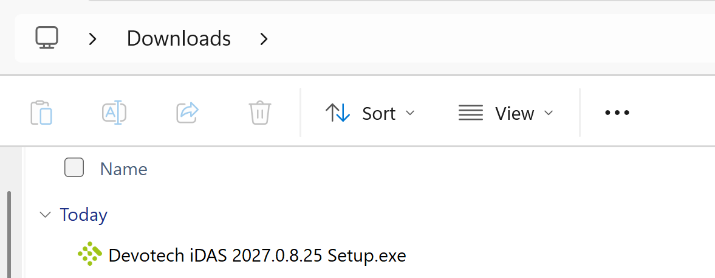
Double-click the downloaded installation file (.exe) to begin the installation process (the example below shows the installation file for version 2026.0.5.26):
-
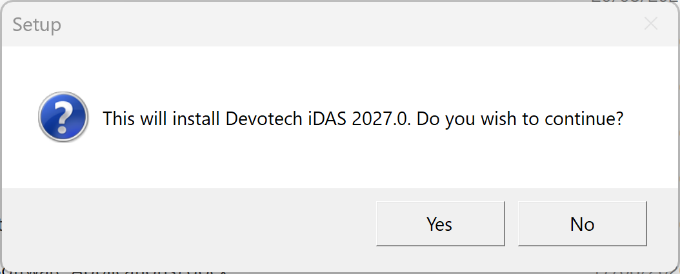
Click Yes to continue the installation:
-
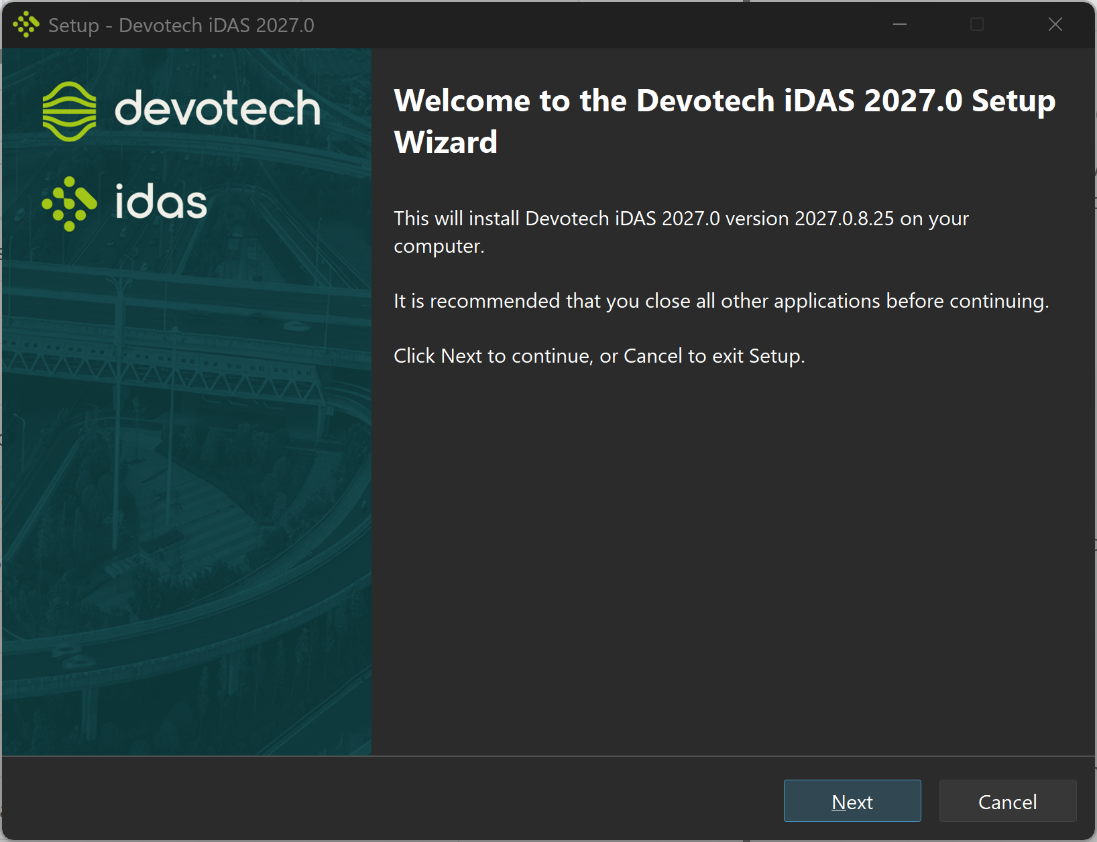
Click Next:
-
Preview the note about iDAS What's New and backwards compatibility:
-
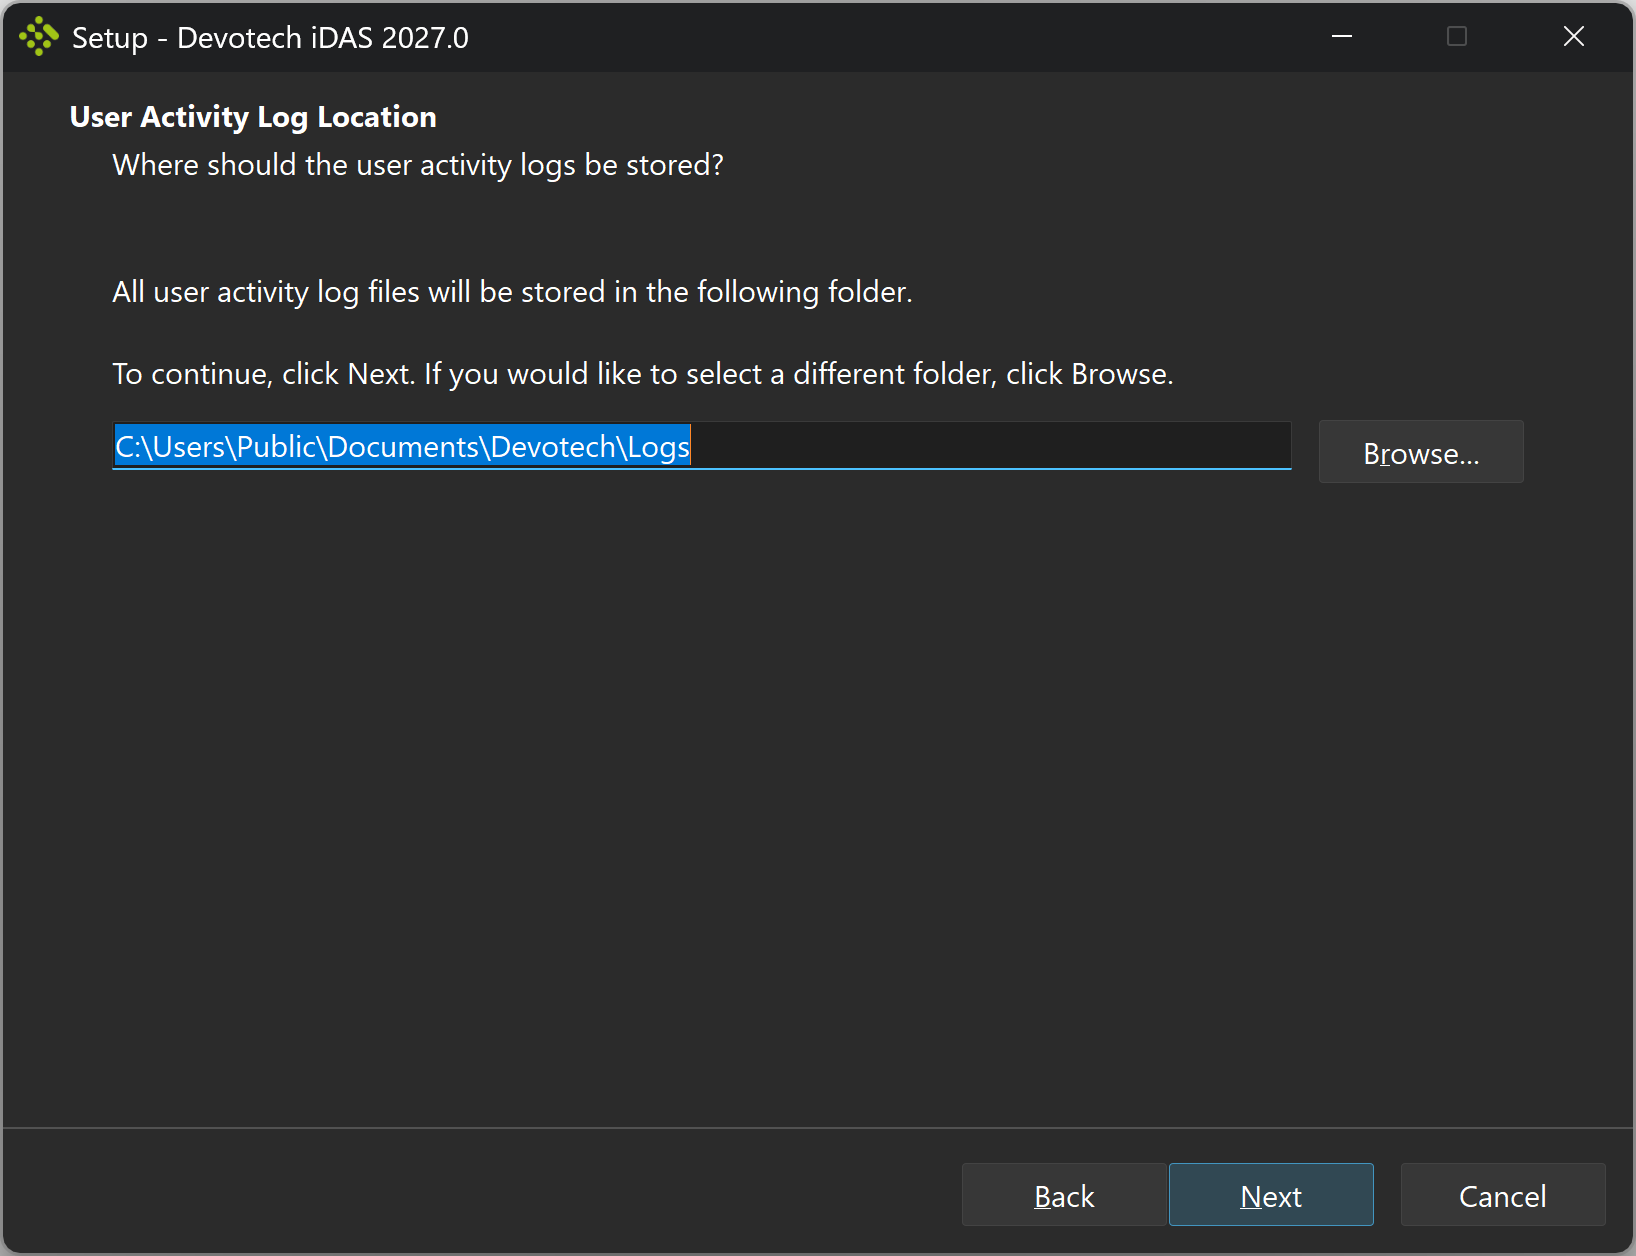
Preview the location for the activity logs and click Next:
-
Read the license agreement:
-
Click on the Install button to install the product:
Devotech iDAS files are installed in the following folder:
C:\Program Files\Autodesk\ApplicationPlugins\DEVOTECH.Bundle
All the Devotech iDAS support files (.ctb, dwt, help file, assemblies and others) can be found in the following folder:
C:\Program Files\Autodesk\ApplicationPlugins\DEVOTECH.Bundle\Contents\Support
Once the Devotech iDAS is installed, you should test if the installation was successful, see the next chapter for the details.
When to use this function
Use this function when you need to:
- [Scenario].
Before you begin
- [Prerequisite or preparation step].
Start the command
[Describe how the command is started.]
Procedure
1. [Action-led step title]
[Instruction and decision guidance.]
Expected result
[Describe the observable successful outcome.]
Troubleshooting
[Symptom]
[Actionable resolution.]
Related topics
- [Link to a directly relevant topic]